Basic Style Creation Tutorial
I have had a few Requests. 'How do I create a style on my Keyboard'.
Well I've found the time to do this very Basic Tutorial and I hope that it is in a clear and understandable format. Others more knowlegeable than I may have a better way but this is my Method and it works for me OK!
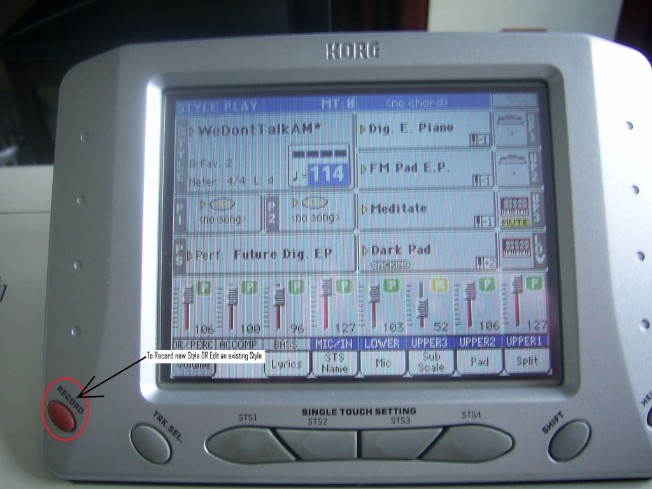
Any style on screen - Not important . Press the 'Record Button'
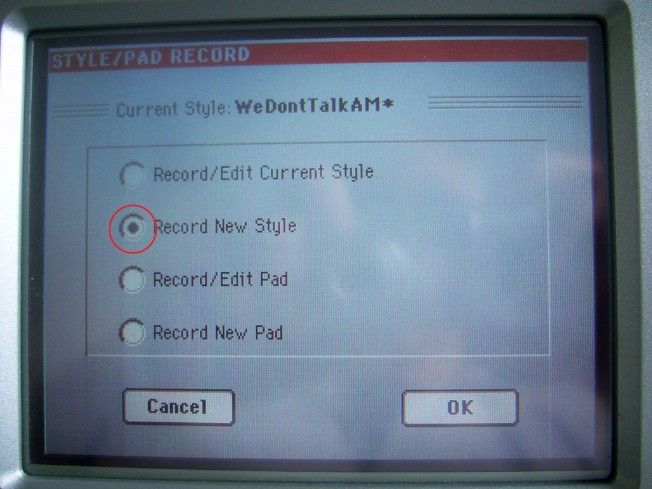
Choose ' Record New Style' here.We will use the 'Record/Edit Current style Button' in actual style editing.
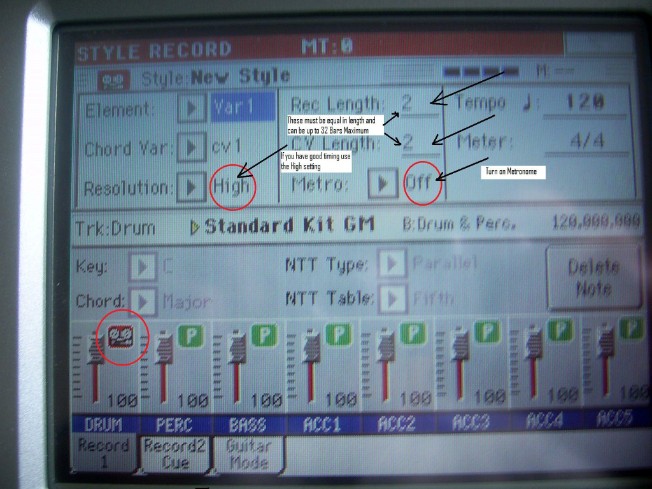
Here we are on Record 1 Tab Screen and here we see highlighted several Items. All important and required.
Element -> eg. Var1. Choose the Element to Record
Chord Variation -> Choose the CV1 as it is all that is needed for a basic style
Resolution -> Use 'High' if your timing is spot on, if not then choose a different setting in the drop down box
Record length and CV length. These MUST be the same length up to a maximum of 32 Bars
Record individual Track - Drum in this instance
Metronome- I recommend that you use this whilst recording each segment of the style. It will keep it tight.
Tempo -> This can be lowered to a comfortable level. The final style tempo can be altered via the screen Menu at any time.
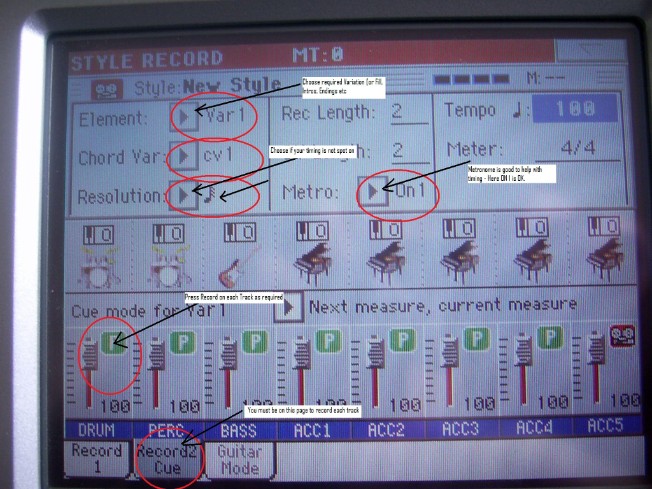
This is 'Record 2 Tab screen. Here I have altered the resolution to allow for slight timing differences 1/32 instead of the default 'High' and I have turned on the Metronome to help with the recording to each Track.
Select a Drum kit for the Drum Track and Press 'Record' -> Press the keyboard Start button and you will hear the Metronome kick in. Start recording your pattern for the selected amount of Bars on screen. You will now hear the pattern continuing along with the Metronome. Track 1 sorted.
Press the 'Percussion' Button and choose a Percussion Kit. Same procedure as above and so on with each track. I would suggest the first 4 Tracks for now. I'll explain why later. First part of style is now recorded and ready to save as a new style..

Write the style.
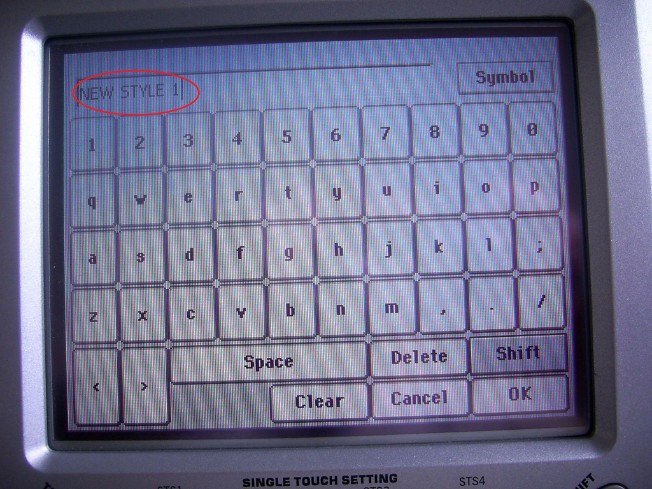
New Style 1 .
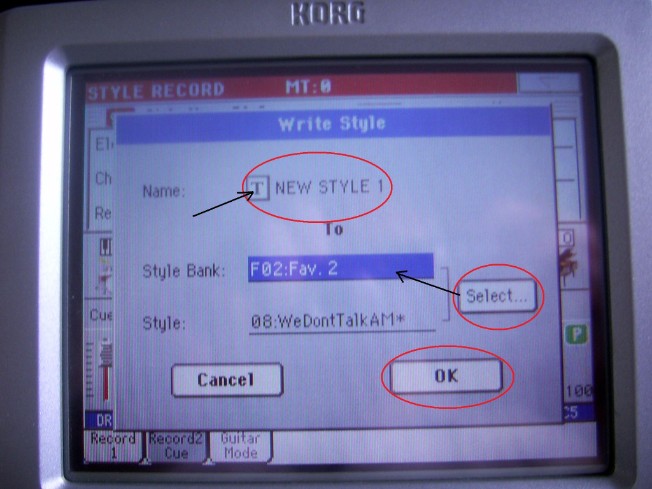
Select a location for the new style .
We now have a 1 Variation style in a Slot. We need to go further and this is my method. I now go back to style mode and select my 'New style 1'. Press the Record button but this time choose to Edit the existing styles-> OK.. You will now see the 'New style 1' in the Style Record screen.
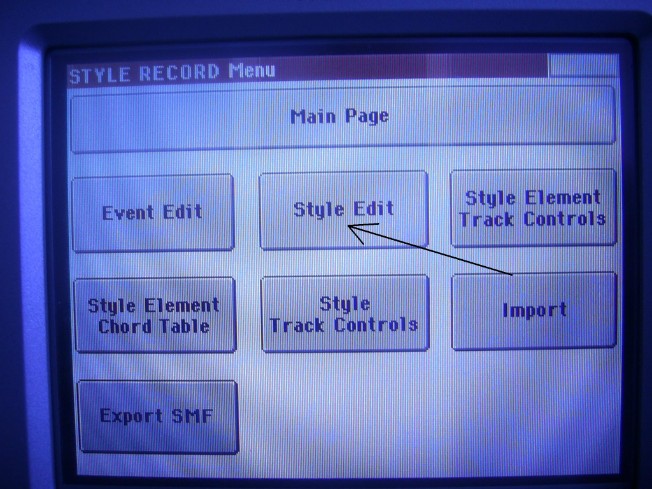
Press the Keyboard 'menu' button and you will see several functions related to Style Record.
Press the 'Style Edit' button.

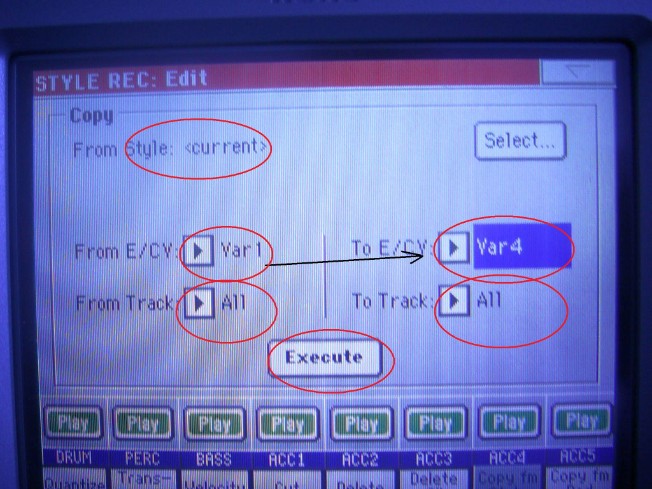
The above screen will appear and you need to press the 'Copy from style' Tab.
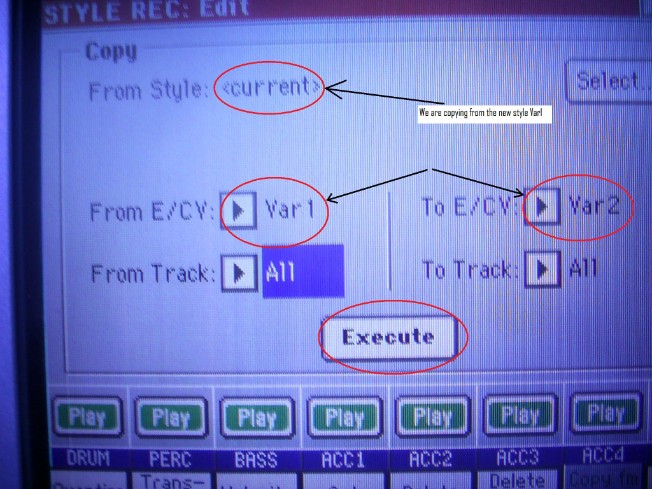
This is now the 'later' part that I stated earlier. This is my method of making the style creation a little quicker by copying the 1 variation that I made earlier to the other 3 variations. Here Copy Var1 to Var 2 and from the 'Track' Drop down buttons below choose the 'ALL' option. - > Press execute to copy.
Note: you are copying from the 'current' style but this can be altered to copy from ANY style on the keyboard...'Style cloning'

Same procedure here Var 1 to Var 3 and 'Execute'. Var 3 now copied.
Same procedure here again. Var 1 to Var 4. Execute. Var4 now copied.
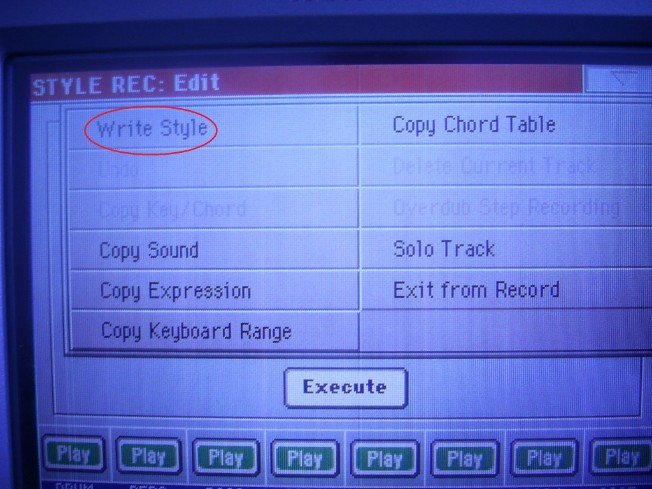
4 variations now the same. Screen Menu and 'Write' style. Exit style Record mode.
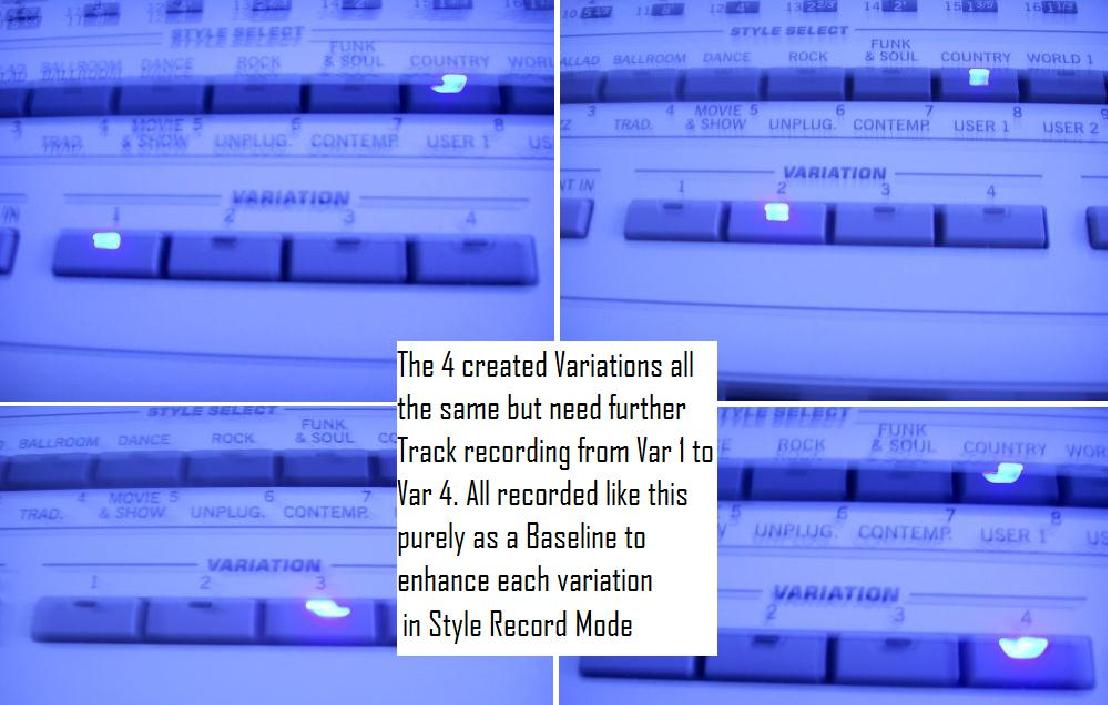
The 4 Variation style is now ready to play but it is not yet finished.
Here we now have to go back into Record/Edit style mode again. The reason that I have recorded the variations this way is that I now have a solid base to each variation with 4 tracks recorded. The next stage is to Record additional Tracks to each Base Variation. Record an extra track to Var 2, Record an extra track to Var 3 and finish off the other Tracks to Var 4 for a Grand finish. You might only need a very simple style with 2 or 3 variations and a simple Intro and Ending, it's what you want to achieve.
More work to do in recording the Fills and Intros and Endings. Same basic procedure.
Welcome to the fascinating world of Style creation.
I hope that this is helpful as a Basics Starter Tutorial and start you off in the right direction.
Regards
Keith Ball
Thanks to TheKingKorg @ youtube

The site is no longer called korgpa2xpro as stated above. It is now based through a free website provider as korgpahelper!